It wasn’t too long ago when it seemed the prevailing attitude was that cover crops were great and all you had to do was get the seed on the ground and they would grow and thrive. Reality is a bit more challenging, and failures can test the desire to proceed.

Cover crops must be managed just like any other crop on your farm and there are several challenges as you begin. The first challenge is deciding what to grow. Do you make up your own mix or buy something commercial? If you have attended a conference and discovered you need 12 to 15 species in a mix to be successful, it can be enough to turn you off. On the Natural Resources Conservation Service (NRCS) cover crop periodic table, there are 46 species from which to choose.
We recommend you start slow and low and increase acres and species diversity as you gain experience. You really need to first answer the question: What do you want your cover crop to do? Once you have a goal, then your local extension educator, soil conservation technician or NRCS resource person can help guide you in selecting the species to meet your goals.
The next challenge is planting, and the what and how of planting can go a long way to making a successful stand. When you are setting up a planter for corn, beets or barley you are dealing with crop seed that is, more or less, the exact same size from seed to seed. You select the plate, gear setting or gate adjustment which is appropriate, make a few tests to determine correct calibration and you are off to the races. Cover crops aren’t quite that simple, or they shouldn’t be anyway.
When we conducted our first field demonstration project in 2013, we asked the farmers we were working with to plant the cover crop mix however they would do it if it was their own. One goal was to see how cover crops responded to different management such as tillage or no-till systems, furrow or pivot, etc. We made the decision to have the seed all mixed and bagged into one lot rather than to separate large and small seeds and try to keep track of two mixes as we delivered them all over the valley.
The mix we used that year had pea as the largest seed and turnip as the smallest. The pea ran about 4,000 seeds to the pound and the turnips were about 170,000 seeds to the pound. In between those were other peas, triticale, daikon radish, red clover and hairy vetch.
Most planters today have two boxes, a large seed box and a grass and/or legume box. If the seed is mixed, the small seed box is out because the larger seeds like pea and vetch may not pass through the gates or they might be crushed as they do so. The only option is to put the mix in the large box. How do you calibrate that setup? All you can really do is calibrate based on total pounds of seed dropped per acre.
The problem comes when the small seed starts to settle to the bottom of the box as the planter is bounced across the field. Generally, this will lead to areas of the field with more small seeds and less large seeds dropped. Some growers may not care, but if you are trying to get a good distribution you need to use both boxes and calibrate for small seed and large seed. I have done this. Yes, it is twice the work, but the results are more consistent.
I must admit that most farmers we have worked with say they just dump it all in the big box and start planting. You will not find a seed chart in the owner’s manual for a mix, so some calibration is in order. Our experience has been that some seed is hard enough to source that if you run out with a few acres left you can’t just go buy a couple more bags to finish the job. Those acres end up getting planted to whatever is available.
Another challenge with cover crop is seeding depth. The rule of thumb I learned in college was that seed shouldn’t be placed any deeper than eight times its width. If you have some grazing corn or pea that you want to place 1-1½ inches deep, and clover or radish that you want to place basically on the surface, this is difficult when using a single box.
You must plant one type too deep or the other too shallow and hope for the best. Again, when using two boxes, you can place large seeds deeper and drop small seeds on the surface. By pulling a ring roller or harrow behind the conventional drill, you get good seed placement and coverage for all seed sizes.
When using a no-till drill, it is important to let the small seed drop though the tube where the press wheel can pack it into the soil. As with any other crop, good seed-to-soil contact is critical.
The final challenge I will discuss is water. Cover crop seed must have water like any other crop. Sprinklers of some type give better coverage, especially for shallow, small seed, than does furrow, but either is better than none. I have been asked if a person could do an August planting without water, and I can’t recommend the practice. The seed will sit there until it has moisture enough to germinate, and if that is too late into the fall then growth and production will be sporadic and may not be what you want.
Cover crops are beneficial, but you need to have a goal and a plan. If you are new to them then find someone who has some experience and ask questions. These days there are a lot of experienced producers as well as extension and USDA resources who can help you out. ![]()
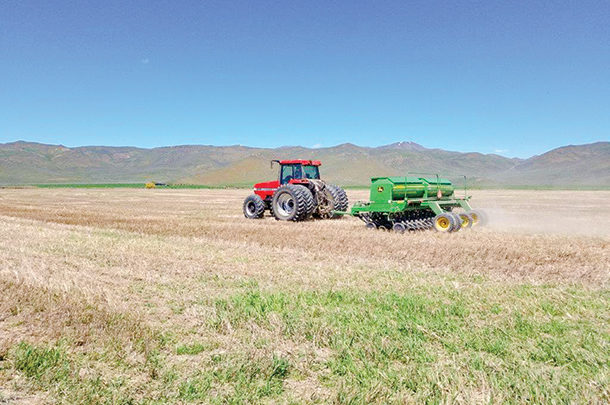
PHOTO: A tractor no-tills cool-season cover crop mix into barley stubble for summer grazing near Picabo, Idaho. Photo provided by Steven Hines.
Steven Hines is a University of Idaho Extension educator for Jerome County, Idaho.


